Every woman can have nails that look lovelier.
Nails can be as colorful, simple, trendy, and workable as you may want them. Mostly women love to have longer nails as it adds not only length but also beauty to their hands. Nail color is the only thing in makeup that can be exactly matched with your outfit and the rest of the makeup tone.
Fun facts about Nail Polish
Here are some fun facts that all nail paint lovers like me should know:
- Only the best could wear red. In ancient Egypt, women from generous families would wear red nail polish and those from the underprivileged will wear nude or light colors (Nefertiti is said to have painted her nails ruby color while Cleopatra dyed her tips a rusty hue with the juice of the henna plant.)
- In the 1920s, makeup artist Michelle Menard adapted the enamel used for cars to create a polish for nails, thus it was initially named Nail Polish and Nail Enamel.
- In 1934, dentist Maxwell Lappe first time came up with a product called Nu Nails — an artificial nail created specifically for his patients who were nail biters. Acrylic nail invention must be accredited to dentists to introduce a new fashion idea for women’s nails.
- French tips probably aren’t really French.
- In 1975, Jeff Pink—founder of the nail polish brand Orly—created the French manicure to expedite the makeup process for actresses making multiple costume changes at a time for different shoots.
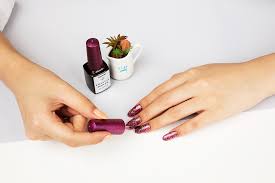
How to apply Nail paint like a Pro
- Buffer and File your nails – Before applying a nail color like a pro, do not forget to file and buffer your nails with a filer and a buffer. Nail color applied to same-sized and shaped nails looks even much more appealing than with varying shapes and lengths. Move the nail file from the corner towards the center moving in one direction and avoid filing back and forth across your nails as it may cause them to splinter or damage your tips.
- Prime with base and topcoat – Do not underestimate the power of base coat and top coat on your nails. You need a solid base for the nail paint so a beauty pro would never skip on it and neither should you. Basecoat not only provides a strong base, but it also helps in keeping your nails and cuticles prevented from splitting, breaking, and peeling. Then apply the topcoat to lock in the color. It adds a shine and gives a nice polished look. Choose a fast drying top coat to avoid smudges.
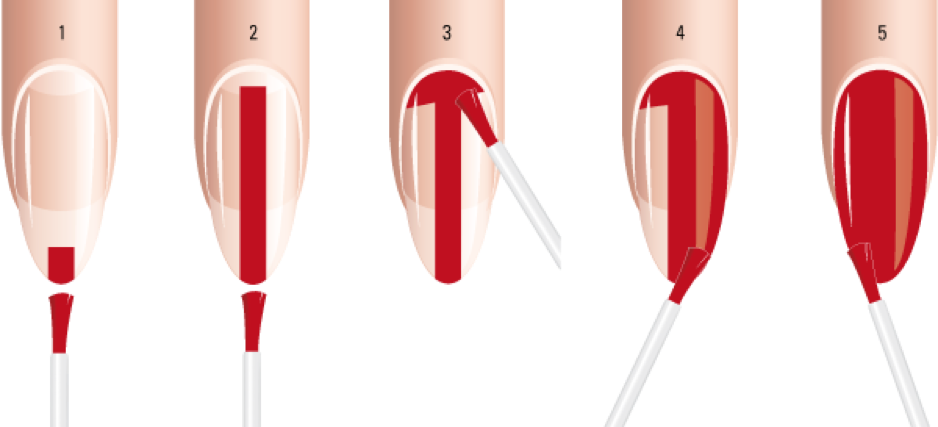
- Apply nail color carefully – As you pull the brush out of the bottle, fan off the excess color by striking it along the neck. Move the brush to the center of the nail in one smooth stroke from cuticle to tip. then wipe the brush along the left and right sides. To increase the richness of color, apply one to two more coats.
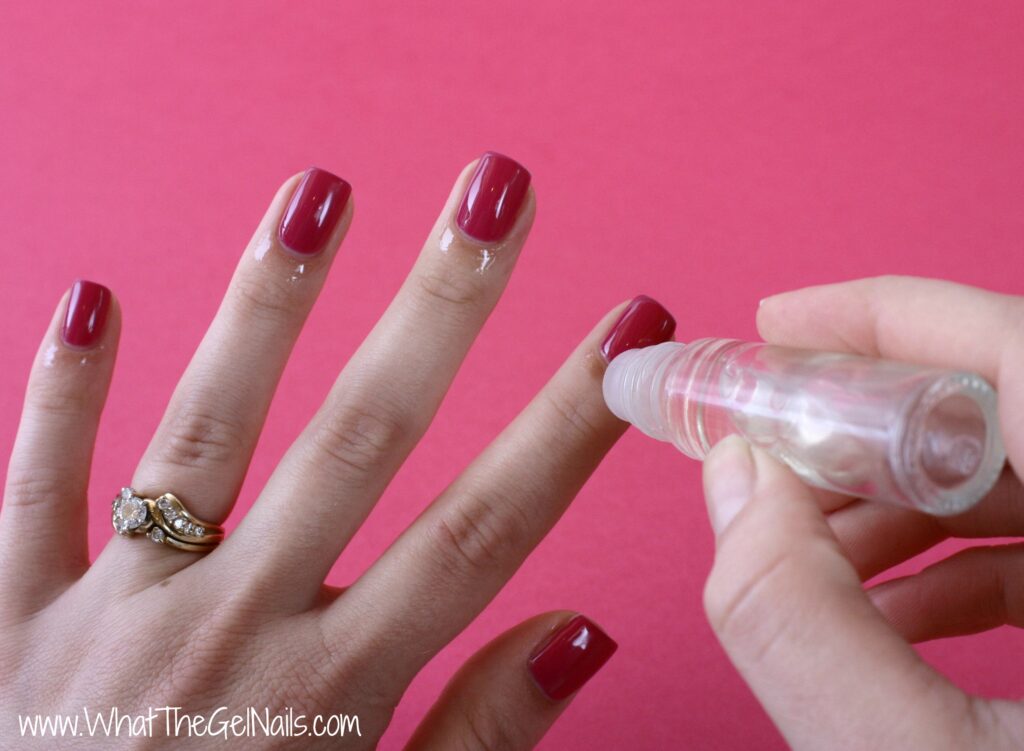
- Define outline around cuticles – To achieve a salon-quality look, never skip defining outline around cuticles. To do this, dip a fine tip brush in acetone nail polish remover and make an outline around the cuticles. This will remove all the color going out and giving a rough impact.
- Rotate your dominant hand wisely – One of the challenges when applying fingernail polish yourself is using your non-dominant hand. For example, if you’re a righty, then applying polish with your left hand can be especially difficult. Instead of relying on your weak left hand to do all the work, lay your right hand flat and rotate it as you move along the nails.
Once you’re done with painting your nails, you are all ready to flaunt your styles and gestures with your hands.